Shower Wall Panels: Installation & Maintenance Guide
There are various kinds of shower wall panels on the market. From inexpensive to high-end designs, there’s sure to be something suitable for any budget and taste, from marble effects to custom images from their manufacturer.
These tiles are waterproofed and sealed to reduce mildew and mould growth, making them lightweight and simple to install—an excellent alternative to tiles!
Shower wall panels are easy to install.
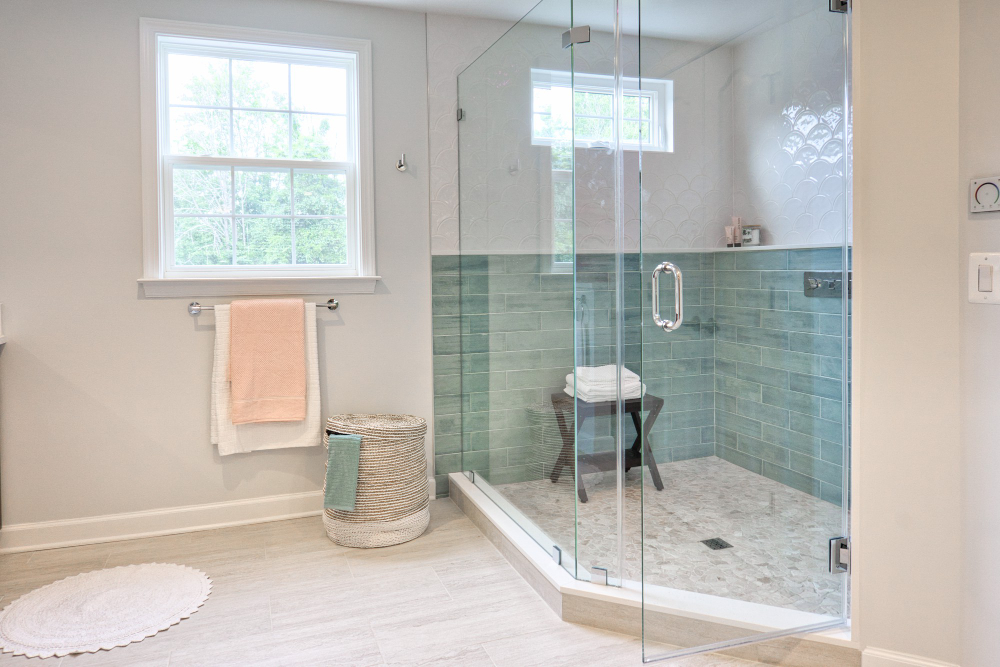
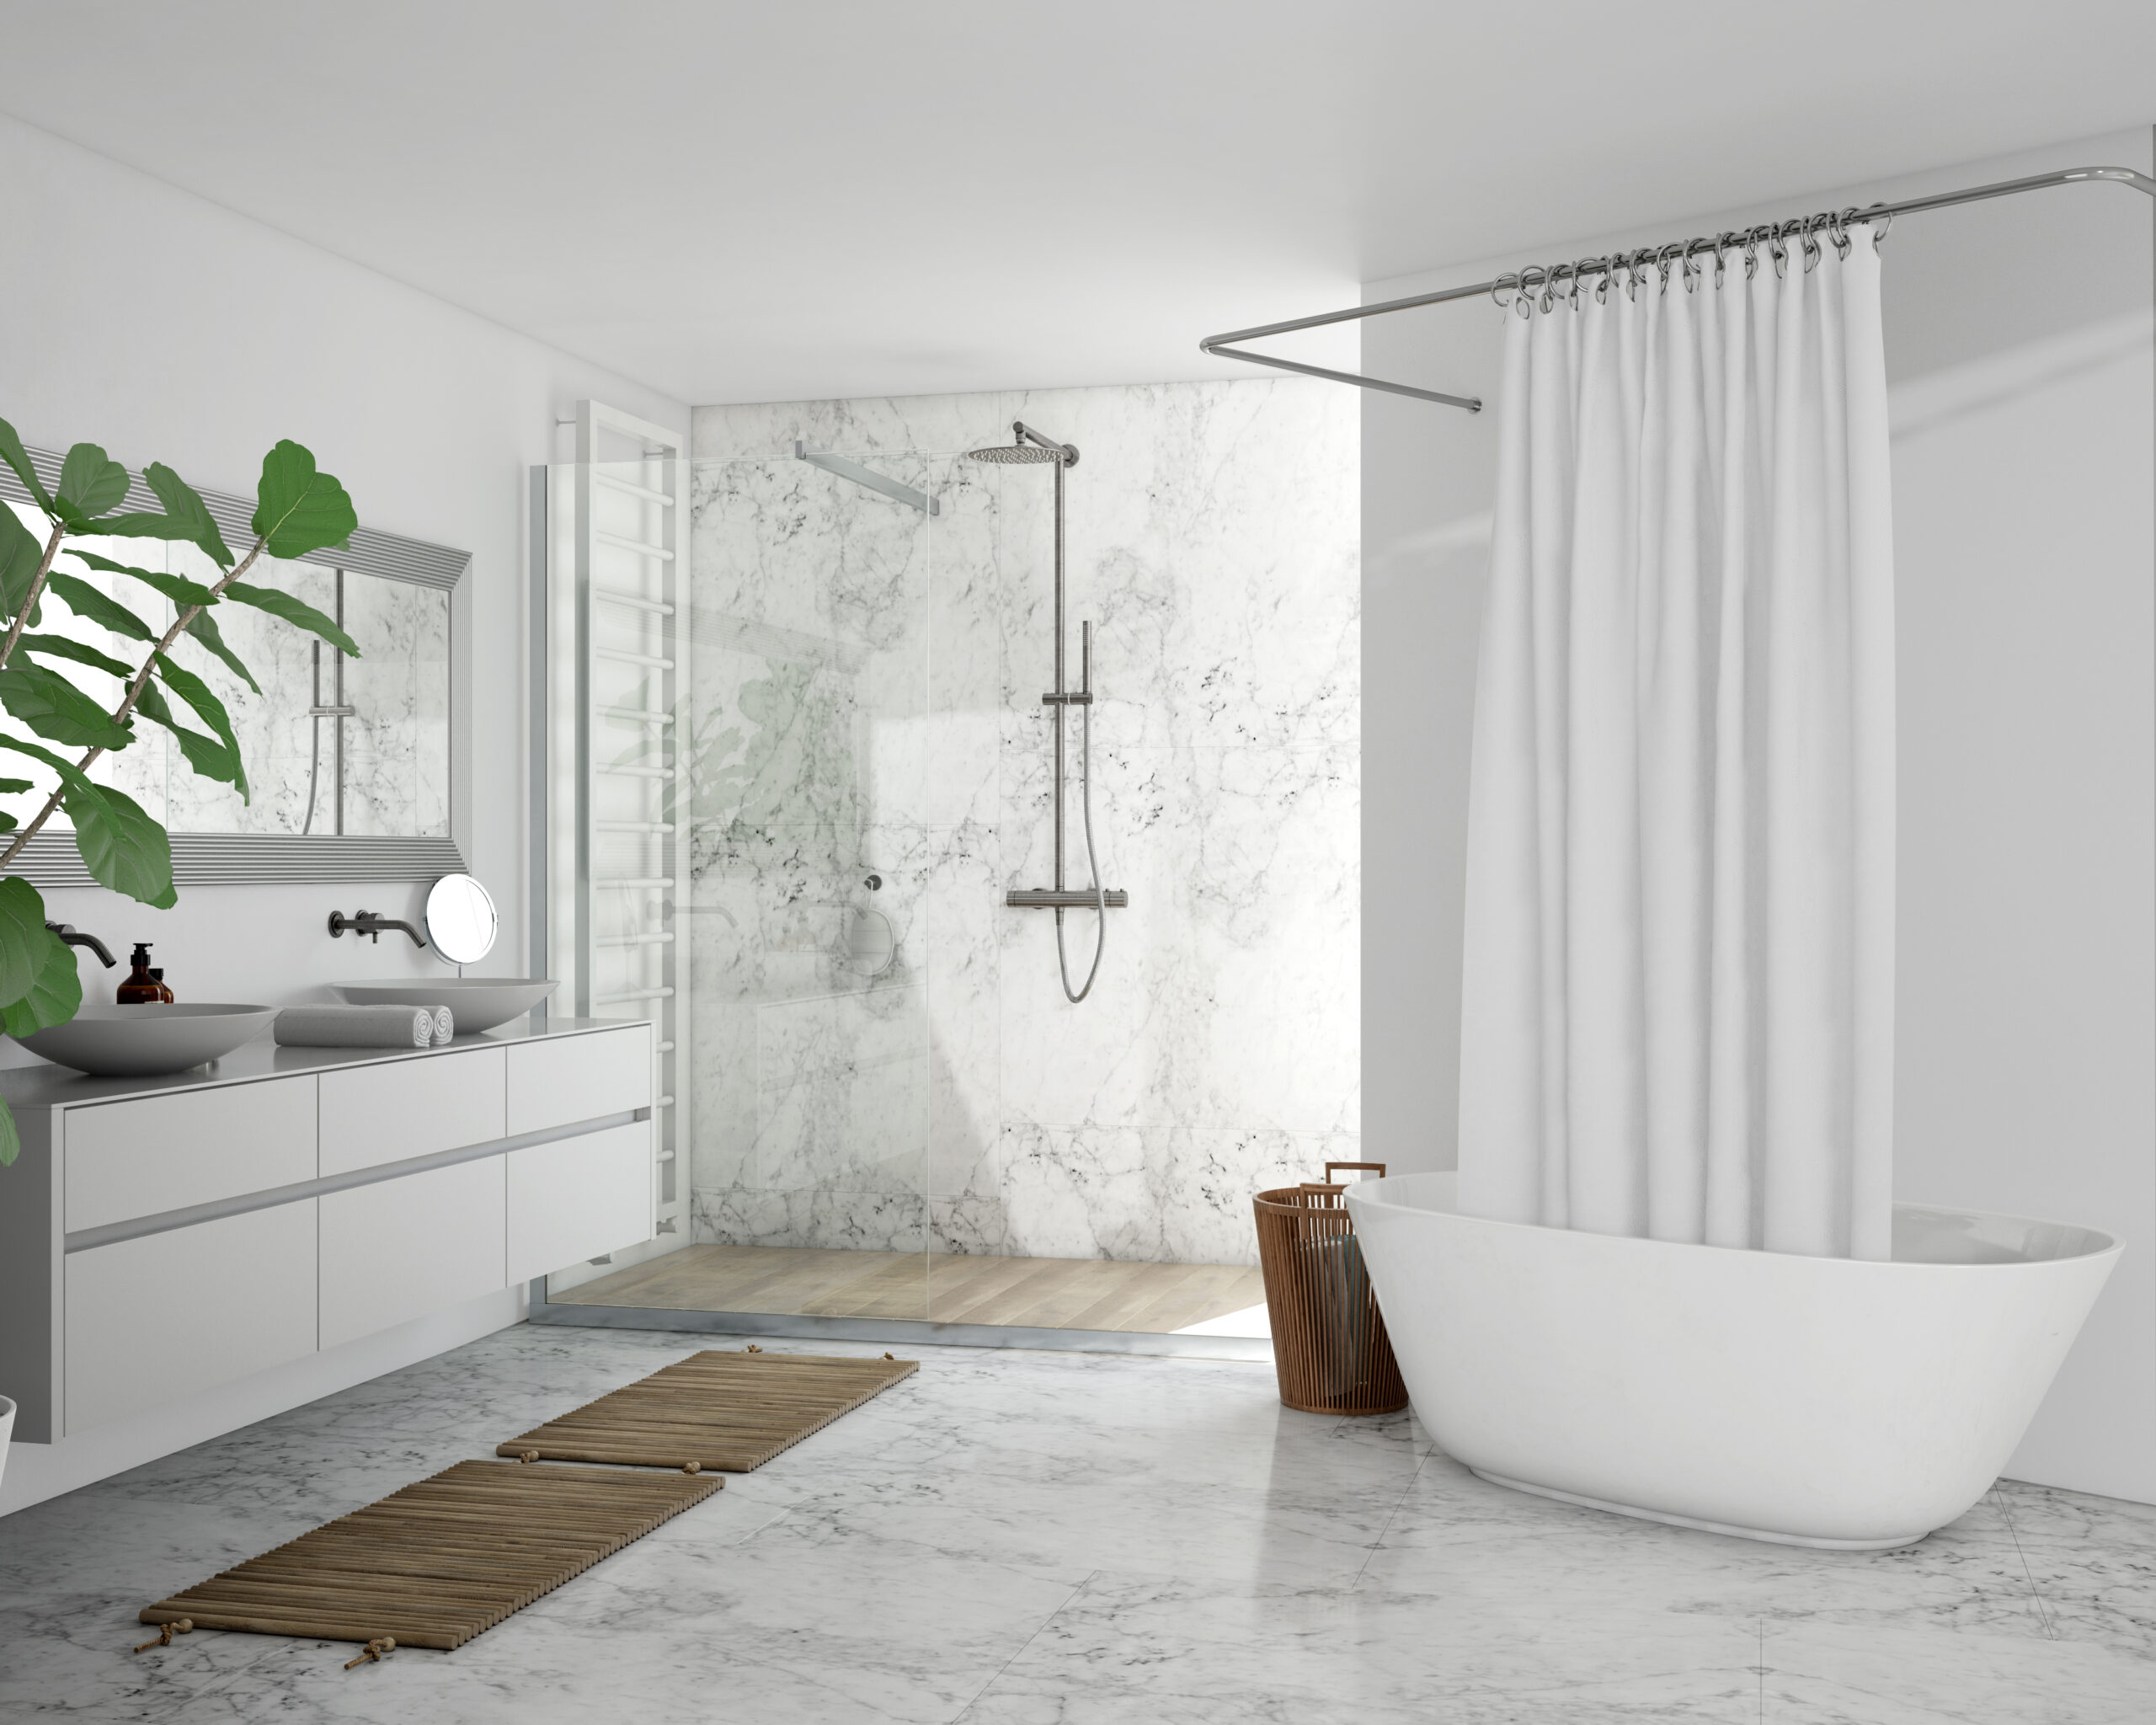
Shower wall panels provide a fast and straightforward alternative to tiles, eliminating grout requirements while being easy to maintain and keep clean. Installation requires no adhesives or sealants; shower panels can even be put up without having to remove existing tiles! They’re ideal for renovating high end apartment bathrooms quickly, as well as cheap hotels with multiple bathrooms in different styles.
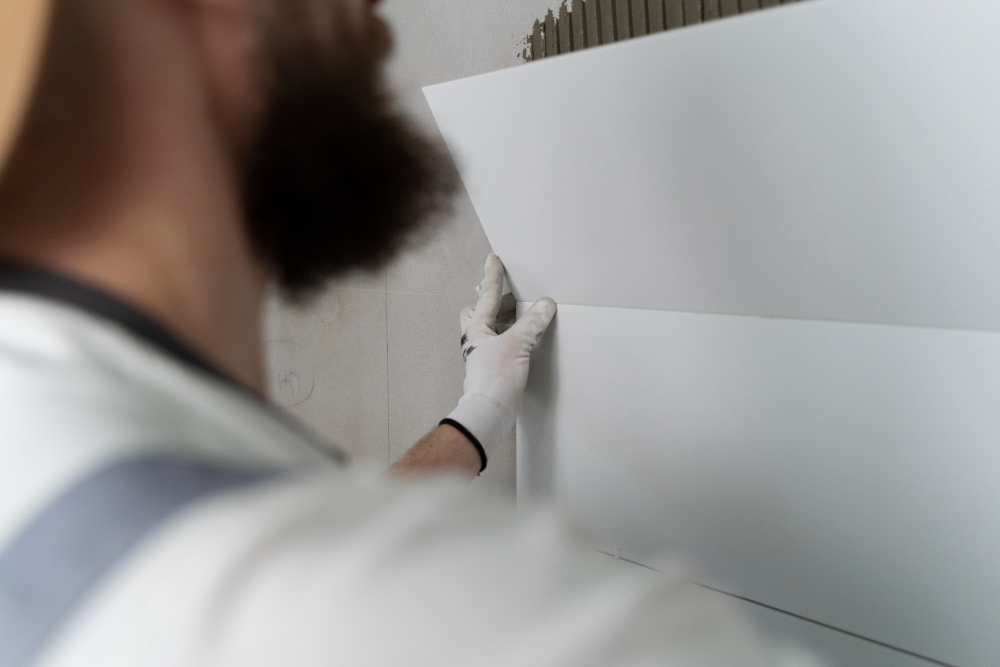
To successfully install your shower walls, first prepare the work area by adding horizontal wood furring strips every 24″ over your studs or OSB. This helps create a solid base for the panels, helping prevent the movement of walls. Next, use a panel cutter to trim any excess from behind each panel, using double-check measurements before cutting. After trimming all panels, fit corner trims into their slots before using an appropriate shower panel adhesive on walls before fitting each panel in its bead bead for 30 seconds so solvents can escape, and then fit them back out slightly before fitting each panel into the bead using this same adhesive. Using the same adhesive, fit each panel into the bead for 30 seconds for solvents to escape before pulling it back slightly and pulling back slightly to allow solvents to escape before adhering each time for 30 seconds to allow solvents to escape before adhering panels permanently onto walls before starting this step of this installation process.
Next, use the included silicone to seal the seams between panels that come together. If adding additional accessories, such as niches or footrests, after installing panels is complete, smaller cast marble accessories can easily be attached using hot melt glue and silicone, while larger ones will require hardware from your supplier.
How to Install Shower Wall Panels
Shower wall panels come in one, two, three, and five-piece sets designed specifically to fit shower stalls and bathtub alcoves. You can select one that best meets both your design aesthetic and budget considerations.
Be prepared for an effortless installation experience by gathering the necessary tools and materials, including an electric drill with the appropriate bit for your wall surface and material.
FRP
FRP shower wall panels combine fibreglass and plastic into one easy-to-install and much less expensive solution than tile. Furthermore, their durability and resistance to moisture make them superior compared to drywall. Before beginning their installation process, it is crucial that a thorough survey be conducted of the area in which they will be installed to ensure an even surface with no bulks or nails that might show through, as well as dry walls that are present for an easy install process.
Start by dry-fitting the panels in their desired positions to ensure they fit seamlessly. Use a fine-toothed hand saw to trim the internal corner trim to the appropriate height before using a notched trowel to apply panel adhesive to it, pressing it into place, then pulling away slightly after 30 seconds to allow solvents in the adhesive to dissipate. Repeat this process for the two end panels.
PVC
PVC panels are much cheaper to purchase and install than tiles, while their waterproof features also prevent condensation buildup that leads to mould and fungus growth. This feature makes PVC panels an excellent solution in bathrooms where moisture levels may be elevated, and thus the risk of condensation accumulation on walls increases significantly.
For an efficient panel installation process, it is essential that the area and tools necessary are prepared beforehand. These may include measuring tape, a pencil, a level, construction adhesive suitable for wet environments, and a utility knife or fine-toothed saw. In addition to having these handy, clean, lint-free cloths should also be on hand.
Install your first panel by applying a bead of adhesive to its back and pressing it against the wall, positioning it within an internal corner trim if required. Repeat this step with all remaining panels, making sure that their tongue-and-groove edges interlock properly as they interlock properly with one another. When all panels have been secured to their positions, install your Cladseal trim to complete your splashback.
Acrylic
Acrylic shower wall panels come in many different tile looks and can be installed without the mess and hassle of tiling. Easy to maintain and clean up after, acrylic panels don’t require grout joints, which may discolour over time; plus, they are more durable than ceramic tiles, which chip easily!
Dry-fitting your wall panels is essential to ensuring they fit together perfectly when installed and look their best when completed. To do this, apply a bead of panel adhesive within each of the marks you created for them and spread it with a notched trowel evenly before positioning and pressing your back panel to ensure it makes contact with adhesives and adheres properly before pulling slightly away for 30 seconds to allow solvents to dissipate and enhance adhesion.
Install the end panels, making sure there is sufficient overlap to cover any out-of-square edges, then apply silicone caulk along each panel’s perimeter.
Solid Surface
If you want a durable and beautiful shower surround that resembles tile but is easier to install, solid surface panels might be worth considering. They can usually be cut to fit, while some features have tongue and groove designs on their edges that minimise the sanding time necessary to achieve seamless seams.
Solid Surface products come in almost every hue and colour imaginable, as well as veined and swirled designs. Additionally, solid surfaces can be sanded and refinished, an invaluable feature when selecting an end product that keeps looking its best even after years of use.
Solid surface panels do not require special tools or adhesives for installation, unlike their fibreglass and acrylic counterparts. You should be able to find a kit online that includes everything needed for assembly as well as any trims or sealants required; additionally, a fine-tooth hand saw and spirit level may help achieve optimal results.
How to Cut Shower Wall Panels
Shower wall panels offer an ideal solution when renovating bathrooms, offering easy cutting down to size and minimal upkeep.
They can be secured using either adhesive or mechanical fixings and may feature a tongue-and-groove system to interlock. For optimal installation results, always follow the manufacturer’s installation guide.
Make a template.
Shower wall panels offer the advantage of custom fitting without tiles’ limitations of precise sizes and can be cut precisely to size for installation. Crafted from waterproof materials like PVC or water-resistant MDF, they come in various colours and textures with quicker setup times than tiling can provide.
Mark out cutting lines using a pencil. Tongue and groove wall panels should interlock seamlessly, so accurate cuts must be made as gaps could allow moisture in and cause irreparable damage to them.
When cutting with a jigsaw, place it on a stable base and cut slowly with its decorative face up; this will help avoid splitting. Some installers like to run a bead of silicone around its edge prior to pressing it in place for an improved waterproof seal.
Use a tenon saw.
No matter your bathroom style or aesthetic preferences, shower wall panels (also known as wet wall panelling) offer an easy and quick alternative to tiles for both cost-cutting purposes as well as maintaining cleanliness. Not only are they cost-efficient, but they are also hygienic, as they require less frequent maintenance and upkeep than regular tiles do.
When cutting cladding, a tenon saw is your best choice to ensure a precise cut with an even finish. A handsaw may also work but has a higher chance of chipping during its cut process. To reduce any unnecessary chipping during use, it’s wise to clamp a shooting board or shoulder plane onto your workpiece to act as a guide and aid cutting accuracy.
Another popular method for cutting panels quickly and simply is utilising a Stanley knife, ideal for thinner-depth panels of 5mm–8mm. To use one, score along your desired cutting line using a speedsquare or straight edge, place the decorative face up on the bench surface, then quickly push down with snapping action for quick cutting action.
Use a Stanley knife.
If you don’t already own a saw, a Stanley knife can be an inexpensive alternative for cutting panels. Just ensure the blade is properly sharpened before making any important cuts; this helps ensure clean cuts.
Before beginning to cut, all hardware must be removed from the wall; this includes faucet valve stems and shower head stub-outs, if applicable for a multi-panel set, as well as any caulk that seals your panels to the tub or shower rims.
When it’s time to remove the panels, large ones may prove challenging to manoeuvre indoors. When starting this task, remember to work outside if necessary, as large panels can be awkward to work around inside. Remove them in reverse order from when they were installed, starting with corner panels (if applicable) before moving on to side and back panels; deactivate latch systems on any connected panels prior to taking them down.
Use masking tape.
Many people opt for PVC wall panels to transform their wet rooms, as they’re quicker and easier to install than tiles, with numerous designs to fit any decor scheme. Furthermore, these durable PVC panels can often be found for much cheaper than their tiled equivalent.
To ensure a proper fit, apply masking tape strips to the back of the panel before cutting it. This will prevent adhesives from adhering too early and compromising their position.
Once the masking tape has been removed, apply a thin bead of translucent neutral cure wet area silicone sealant to the wall to protect your panel from splashes and condensation. Once this sealant has set up, add several coats of polyurethane sealant over time to protect it against scratches or scuffs that might occur over time.
How to Fit Shower Wall Panels
Shower wall panels offer an easy and quick solution for covering wet rooms, often comprising thin strips similar to laminate floorboards that interlock together using tongue-and-groove construction.
Affordable DIY kits with instructions and channelling for use come complete with water-resistant features.
Materials
Like tiles, panels are waterproof and don’t require grout—a breeding ground for bacteria and fungus growth—unlike tiles. Additionally, panels tend to be cheaper and simpler to install than their tile counterparts.
Shower wall panels come in various heights and widths to fit almost any size enclosure. Before purchasing one, always consult the manufacturer’s specifications to make sure it will fit. Before installing a panel, use a four-foot level to mark a horizontal reference line across the top of your bathroom; draw vertical lines from both corners of your shower compartment or bathtub alcove that intersect this line to mark its outer edges, as these will help ensure an easy installation without costly errors or mistakes. It may also be beneficial to purchase corner trim pieces to cover gaps caused by walls with uneven walls, as this will prevent gaps from appearing between panels due to wall imperfections caused by misalignment of their edges.
Tools
An avid DIYer typically possesses both a fine-tooth saw and hacksaw for trimming, but investing in more specialised tools for cladding may be worthwhile. Depending on the size of the room you’re covering, you may require something such as a spirit level to assist with positioning.
Tape measures are essential tools for measuring cuts and trimming panels to the exact sizes, while PVC predator saws can quickly cut with clean edges for cutting panels slowly with precision. Always cut with the decorative side down!
Once your shower wall panels have been secured in their place and clicked into their internal trim, add sealant along both the inside corner profile and base profile of the second panel in order to create a watertight joint and enhance its aesthetic appearance. This will help create an airtight seal while simultaneously improving how watertight and beautiful your finish looks.
Markings
Shower panels add a modern and contemporary style to any bathroom while also being much cheaper than tiles and easier to install quickly.
Before installing, ensure your wall is clean and dry, repair or fill any holes, and apply neutral cure wet area sealant over its entirety for added waterproof protection.
Before installing a panel, use a pencil to mark on a non-decorative surface the position of faucet stems and shower head stub-outs using an eraser as a template when drilling a front surround panel; this ensures everything lines up correctly when drilling it later on. With tongue and groove joints, it’s also important to add sealant over the back of trims so they slot easily later; additionally, add it where your corner bead will sit on walls as well.
Cutting
Once you’ve marked out the cutting lines on your panel, use strips of masking tape to protect it while cutting. Be sure to double (or even triple!) check all measurements prior to beginning; thickness could impact how much wall space is available for cutting.
Once your panels have been cut to size, simply slot them into place. For an elegant finishing touch, you could also add trims at the base, corners, and edges; some can be attached using sealant, while others slot in and connect directly with panels.
Remember, though, that panels expand and contract as they settle, so leave some wiggle room for expansion or contraction and fill any gaps using an approved sanitary sealant; this will provide a watertight and durable finish.
They are easy to maintain.
No matter your bathroom decor style or budget, shower wall panels offer an effective and cost-saving solution. Not only are they non-porous to prevent mould growth and don’t require grout lines that need to be regularly scrubbed, they’re easy to install with regular wood cutting tools, allowing them to fit any space in an instant.
Available in an array of finishes, these panels make an excellent addition to any interior style. Some designs mimic stone or brick textures, while others feature vibrant metallic colour options for bold statements. With their versatility and growing popularity, alternative tiles have quickly become a great alternative to traditional ones.
Costs associated with shower wall panels depend on their type and size of material, but they are typically less costly than tile installations, as well as being installed over existing walls in some instances. Although ideal for residential properties, commercial properties should use other solutions, as panels must be sealed to prevent leaks from forming and other issues from arising.
Shower wall panels are easy to clean.
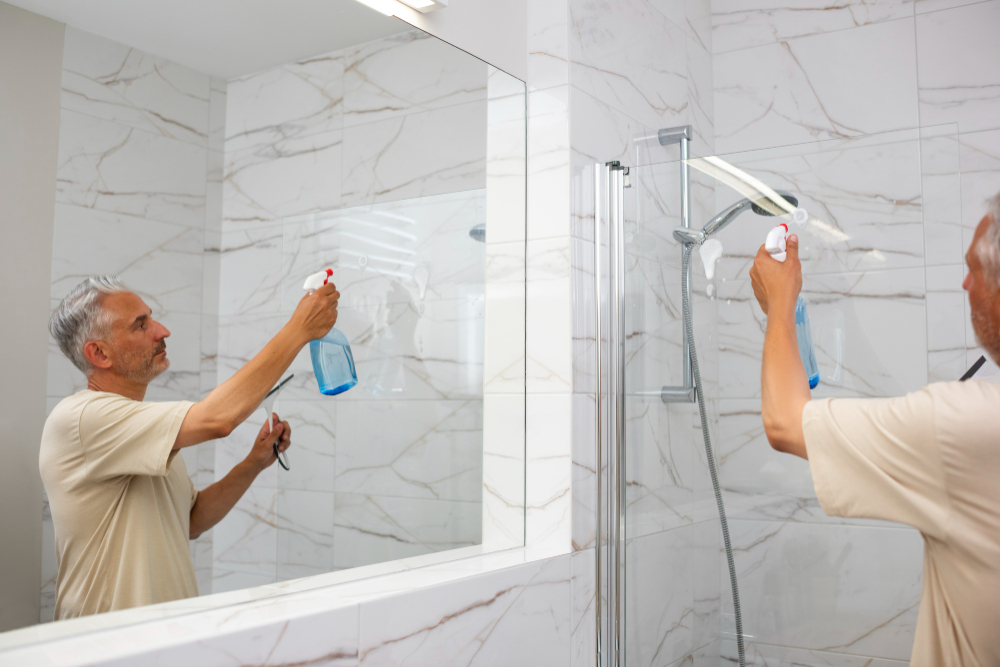
Most shower wall panels are composed of nonporous materials that make cleaning them effortless. Simply use soapy water or window cleaner with a cloth and wipe it down. Many manufacturers also provide comprehensive care instructions for their products and advise against the use of abrasive cleaners or bleach, which could damage their surfaces.
Some brands provide their panels in various styles and finishes, including styles resembling stone tile, marble, granite, or wood designs. You may even paint them, although painting could potentially damage materials like fibreglass or acrylic. Some companies even provide panels with more bold and exciting patterns intended to appeal to younger demographics.
Wall panels can offer more durability, style, and mould resistance than tiles for areas exposed to moisture, making them the perfect alternative in shower stalls and other wet environments. Furthermore, cleaning wall panels is much simpler due to the absence of grout lines that discolour over time or become difficult to scrub; additionally, they come in an array of colours and patterns to meet any taste!